How to Use AI to Create Videos for Online Courses with InVideo
Online Courses are a great way to share your knowledge and skills with the world and earn some income in the process. But creating an online course is not just about writing a script and recording a video. You also need to make sure that your course is engaging, informative, and visually appealing. That’s where InVideo comes in.
What is InVideo?
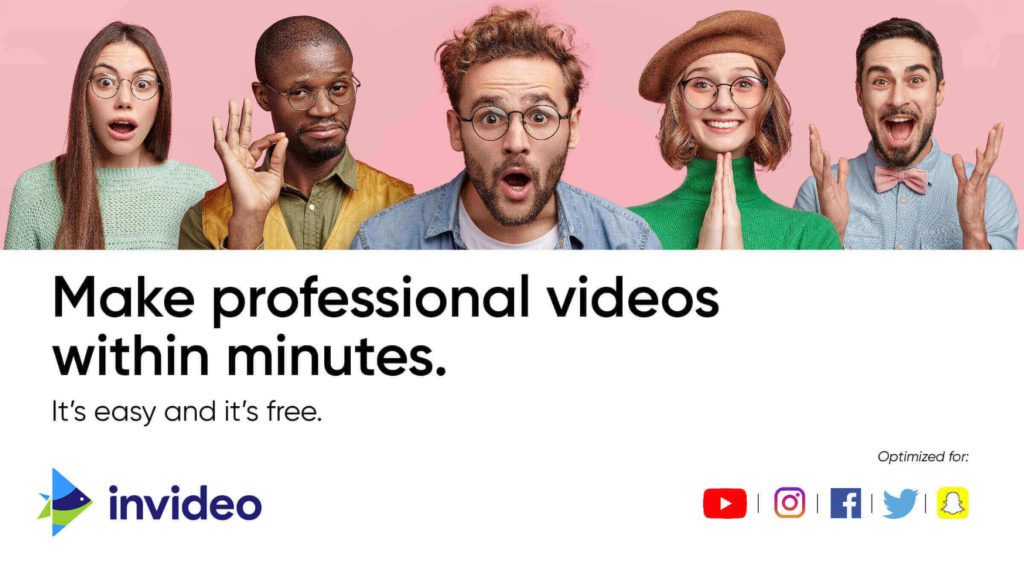
InVideo is a web-based video maker launched in 2019 that offers over 5000 templates, over 9 million media (images, clips, etc.), and a rich audio library. It’s essentially a drag-and-drop, web-based video editor that makes it easier to create videos for businesses of all sizes and individuals (artists, influencers, content creators, etc.). Whether you want to make social media ads, promo videos, explainer videos, or online courses, InVideo has everything you need to turn your ideas into reality.
While it offers a free plan, most features are available with paid subscriptions. It’s a cloud-based web-only platform, meaning you can only use it on a browser on your PC or Mac. In addition, InVideo also offers Filmr, the app for Android and iOS for video making on the go.
InVideo has over 7 million users and is used by big names in different industries like CNN, Dropbox, and IBM.
With InVideo, you can:
- Choose from over 5000+ ready-made templates that suit any niche or topic
- Access over 8 million+ stock media assets from iStock, Shutterstock, and Storyblocks
- Use powerful editing tools to trim, crop, rotate, flip, speed up, slow down, and animate your videos
- Add text, stickers, transitions, effects, filters, masks, overlays, and more to enhance your videos
- Add music and voiceovers from InVideo’s library or upload your own
- Use AI-based tools to convert your script or article into a video in minutes
- Collaborate with your team members and get feedback on your videos
- Export your videos in HD quality and share them on any platform
How to Use InVideo to Create Online Courses
Creating an online course with InVideo is easy and fun. Here are the steps you need to follow:
1. Plan your course content. Decide what you want to teach, who your target audience is, and what learning outcomes you want to achieve. Break down your course into modules and lessons, and write a script for each lesson.
2. Choose a template or start from scratch. Go to https://invideo.io/ and sign up for a free account. You can browse through the templates by category or search by keyword. Pick a template that matches your course style and theme, or start with a blank canvas if you prefer more control.
3. Upload your media or use stock assets. Drag and drop your own videos and images onto the timeline, or use the stock media library to find relevant assets for your course. You can also record your screen or webcam using InVideo’s built-in recorder.
4. Edit your video. Use the editing tools to customize your video according to your needs. You can cut, trim, crop, rotate, flip, speed up, slow down, zoom in, zoom out, and animate your clips. You can also add text, stickers, transitions, effects, filters, masks, overlays, and more to make your video more engaging.
5. Add music and voiceovers. Choose from InVideo’s music library or upload your own tracks to add some background music to your video. You can also record or upload your own voiceovers to narrate your course content. You can adjust the volume, fade in, fade out, loop, trim, and sync your audio with your video.
6. Preview and export your video. Once you are happy with your video, you can preview it in real time and make any final adjustments. Then you can export it in HD quality and download it to your device or share it directly on social media.
Tips for Creating Engaging Online Courses with InVideo
To make sure that your online course stands out from the crowd and attracts more students, here are some tips for creating engaging online courses with InVideo:
- Choose a catchy title and a clear description for your course. Your title should capture the attention of your potential students and convey the main benefit of taking your course. Your description should explain what your course is about, what they will learn, and why they should enroll.
- Use a consistent style and theme for your course videos. Your course videos should have a uniform look and feel that reflects your brand identity and personality. You can use InVideo’s brand kits to apply your logo, colors, fonts, and graphics to all your videos with one click.
- Keep your videos short and focused. Your videos should be no longer than 10 minutes each and cover one main topic or concept per video. This will help you avoid overwhelming or boring your students and keep them engaged throughout the course.
- Use visuals and animations to illustrate your points. Visuals and animations can help you explain complex or abstract concepts more easily and effectively. They can also make your videos more interesting and memorable for your students.
- Add quizzes and assignments to test your students’ knowledge.
InVideo Features
There are a lot of features that you can unlock once you sign up for InVideo. Of course, like any other online tool, the features depend on the plan you have subscribed for. Here’s a rundown of the main features:
- Audio tools
- Animation
- Media library (including iStock)
- 5000+ templates
- Music Library
- Filters
- Speed adjustment
- Split and merge
- Text overlay
- Unlimited character length
- Stickers and overlays
- Text boxes
- Video capture
- Video stabilization
- HD resolution
- Collaboration tools
- Customizable branding
- Privacy options
- Social sharing
- Mobile screen support
- Voice-over
- Brand kits
As you can see, the tool comes jampacked with all the features one could need to create professional videos. Not only can you edit existing videos shot from your phone or camera, but you can also create videos by using the many media available in the library.
You can drag and drop different elements, for example, text boxes or stickers. With filters, you can enhance the aesthetics of the images or clips you’re using in the video.
For businesses, the brand kit feature is particularly great. You can create multiple brand kits with standardized logos, color schemes, and fonts to turn out cohesive video content.
As for the audio for the videos, there are several options, including copyright-free music and your own voice-over.
InVideo Pricing
InVideo offers three plans, including one free. It offers monthly and annual subscription options, with the latter being cheaper.
The annual plans offer six months off at half the rate of the monthly subscription. You can cancel at any time, and you won’t be charged on the next billing cycle.
Free Plan
The free plan includes many features, including 5000+ templates, 60 video exports per month, and 720p resolution. However, the videos will include the InVideo watermark. Also, the iStock and premium media will have watermarks. It comes with only 1 GB of cloud storage.
Other features not available with the free subscription include premium templates, background removal (images), reseller rights, and priority support.
Business Plan
The Business Plan costs $30 per month or $15 per month annually ($180). This plan includes watermark-free videos, premium templates, iStock media (10 per month), unlimited premium media, 1080p resolution, reseller rights, 10 GB cloud storage, and priority support.
Unlimited Plan
The Unlimited plan costs $60 per month or $30 per month annually ($360). This plan includes everything in the Business plan, plus 120 iStock media per month, unlimited video exports, and 100 GB of cloud storage.
InVideo Customer Support
InVideo offers free Live Chat support for both potential and existing customers. The live chat is available 24/7. Customers with a Business or Unlimited plan subscription also enjoy priority support.
The live chat is pretty quick as the company strives to answer queries within two minutes. Other than that, potential and existing customers can also use email to communicate with customer service.
Overall, customer support is reliable, especially thanks to the live chat options. However, more technical issues may require time or additional support besides live chat.
InVideo Pros and Cons
After reviewing the tool thoroughly, here is where it shines and where it needs some more work.
Pros
- Ease of use: The key advantage InVideo offers to its users is ease of use. The dashboard is intuitive and easy to understand, even for a novice. Everything is available on the left-hand side and works with a mere drag-and-drop option. There is a little bit of a learning curve at first, but nothing you can’t learn in a few days.
- Thousands of templates and millions of media: The availability of so many templates and media to work with makes sure that no matter what kind of video you’re trying to make, you’ll find both a template and media to make it happen. There are templates for intros, outros, video presentations, quotes videos, branding, advertisements, and whatnot.
- Quick editing: Today, it’s all about creating content on a whim, which means many people and businesses don’t have days to work on a video. This is where InVideo makes your life easier by making the process of making a video for a website, social media, or even personal use incredibly quick.
- Creative control: While there are plenty of media available, you are at liberty to upload yours and use it. Video editors, especially professionals, prefer having complete creative control over the process, which this video editor offers.
- Tutorials: InVideo has a dedicated YouTube channel with detailed tutorials on different features and tools. These tutorials can be very helpful for newbies who have never dabbled with video editing before. You can learn about specific effects and even see how to make a specific kind of video (unboxing, Instagram reels, promotional videos, etc.)
Cons
- Lagging Issue: According to users, the tool lags sometimes. It took me 2 weeks to create a 3-minute project because it kept on crashing. Customer service made it sound like my computer was at fault…Probably it’s due to the fact that advanced editing tools require massive memory and processing power.
- Web-only: As a SaaS for the web, InVideo is currently web-only, which is understandable, given how it’s easier and better to edit videos on a computer. However, the lack of a mobile app means you cannot really edit videos on your phone or tablet, which many mobile users prefer. They do offer an app called Filmr for iOS and Android, but it’s limited in terms of features and scope when compared with web-based InVideo.
Who is it For?
InVideo is an incredibly easy-to-use video editor, suitable mostly for those looking for professional-looking videos. It’s ideal for businesses, especially small businesses, who need to create video content for online and social media marketing.
It’s also a good option for social media users, particularly content creators, who want to create videos for Facebook, YouTube, online courses, and even Instagram (Reels, IGTV). However, there are other tools on the market that I would recommend for course creators. I will discuss it further in my upcoming article on Canva.
Professionals and rookies can both use it. However, you’d better have a powerful computer to handle the technical issues I mentioned earlier.